23 May How to Film a Bike Tour


There have been more and more videos popping up on YouTube about bike touring on a daily basis if you haven’t already noticed it.
I believe this is a good thing. This allows us to share our experiences and document moments in our lives that may not be replicated again. Who knows, you might be on the cusp of making the next great biker movie!
Naturally, I thought it’d be a good idea to share with you how I document my bike tour so you can use some of these methods and strategies on your own video producing journey. Let’s jump into how one can film on a bike tour!
Equipment
Johnny’s Equipment
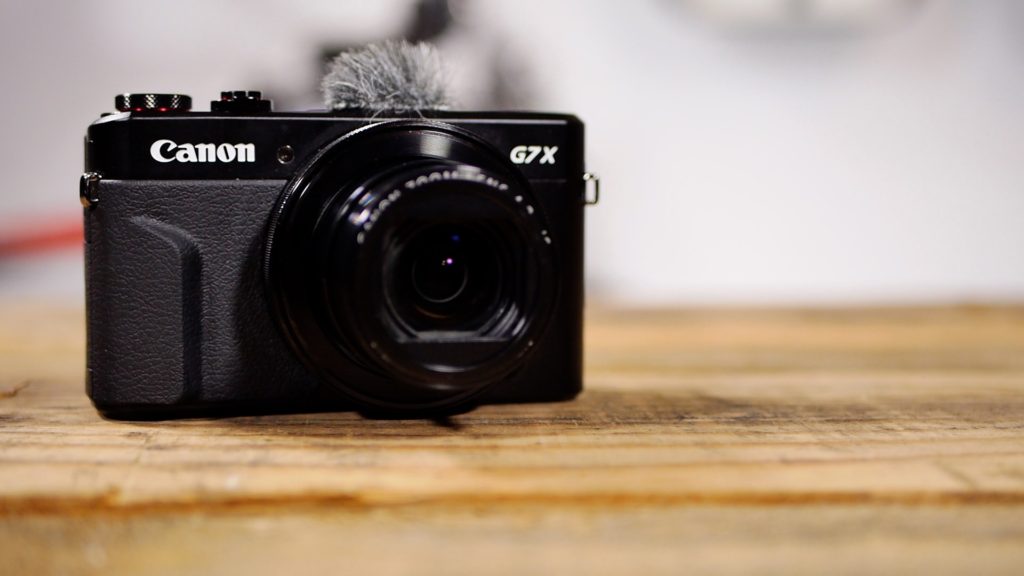 Canon PowerShot G7X Mark II – This camera was used to capture moments when I spoke directly to the camera. This is the primary camera that I use to shoot when I am off my bike and occasionally when I am on my bike. It’s a great go-to camera because of the quality of videos and the convenient size. Check out my review of it here.
- GoPro Hero 4 Silver – I use this camera to capture on-the-bike footage. Usually, I have this on the top of my helmet or attached to my chest with various GoPro mounts. With the help of a waterproof case, this camera was able to capture footage regardless of the weather. I have to admit that some of the videos are nausea-inducing, but it gives a good perspective of what was happening at the moment.
- Zoom H1 – This was an audio recorder used to capture voice-overs wherever necessary. I’ve only used this a handful of times because the recorder is hypersensitive to sound, so it requires an isolated environment without noise. I was only able to get that at the end of the day in a laundry room where nobody was using any of the machines.
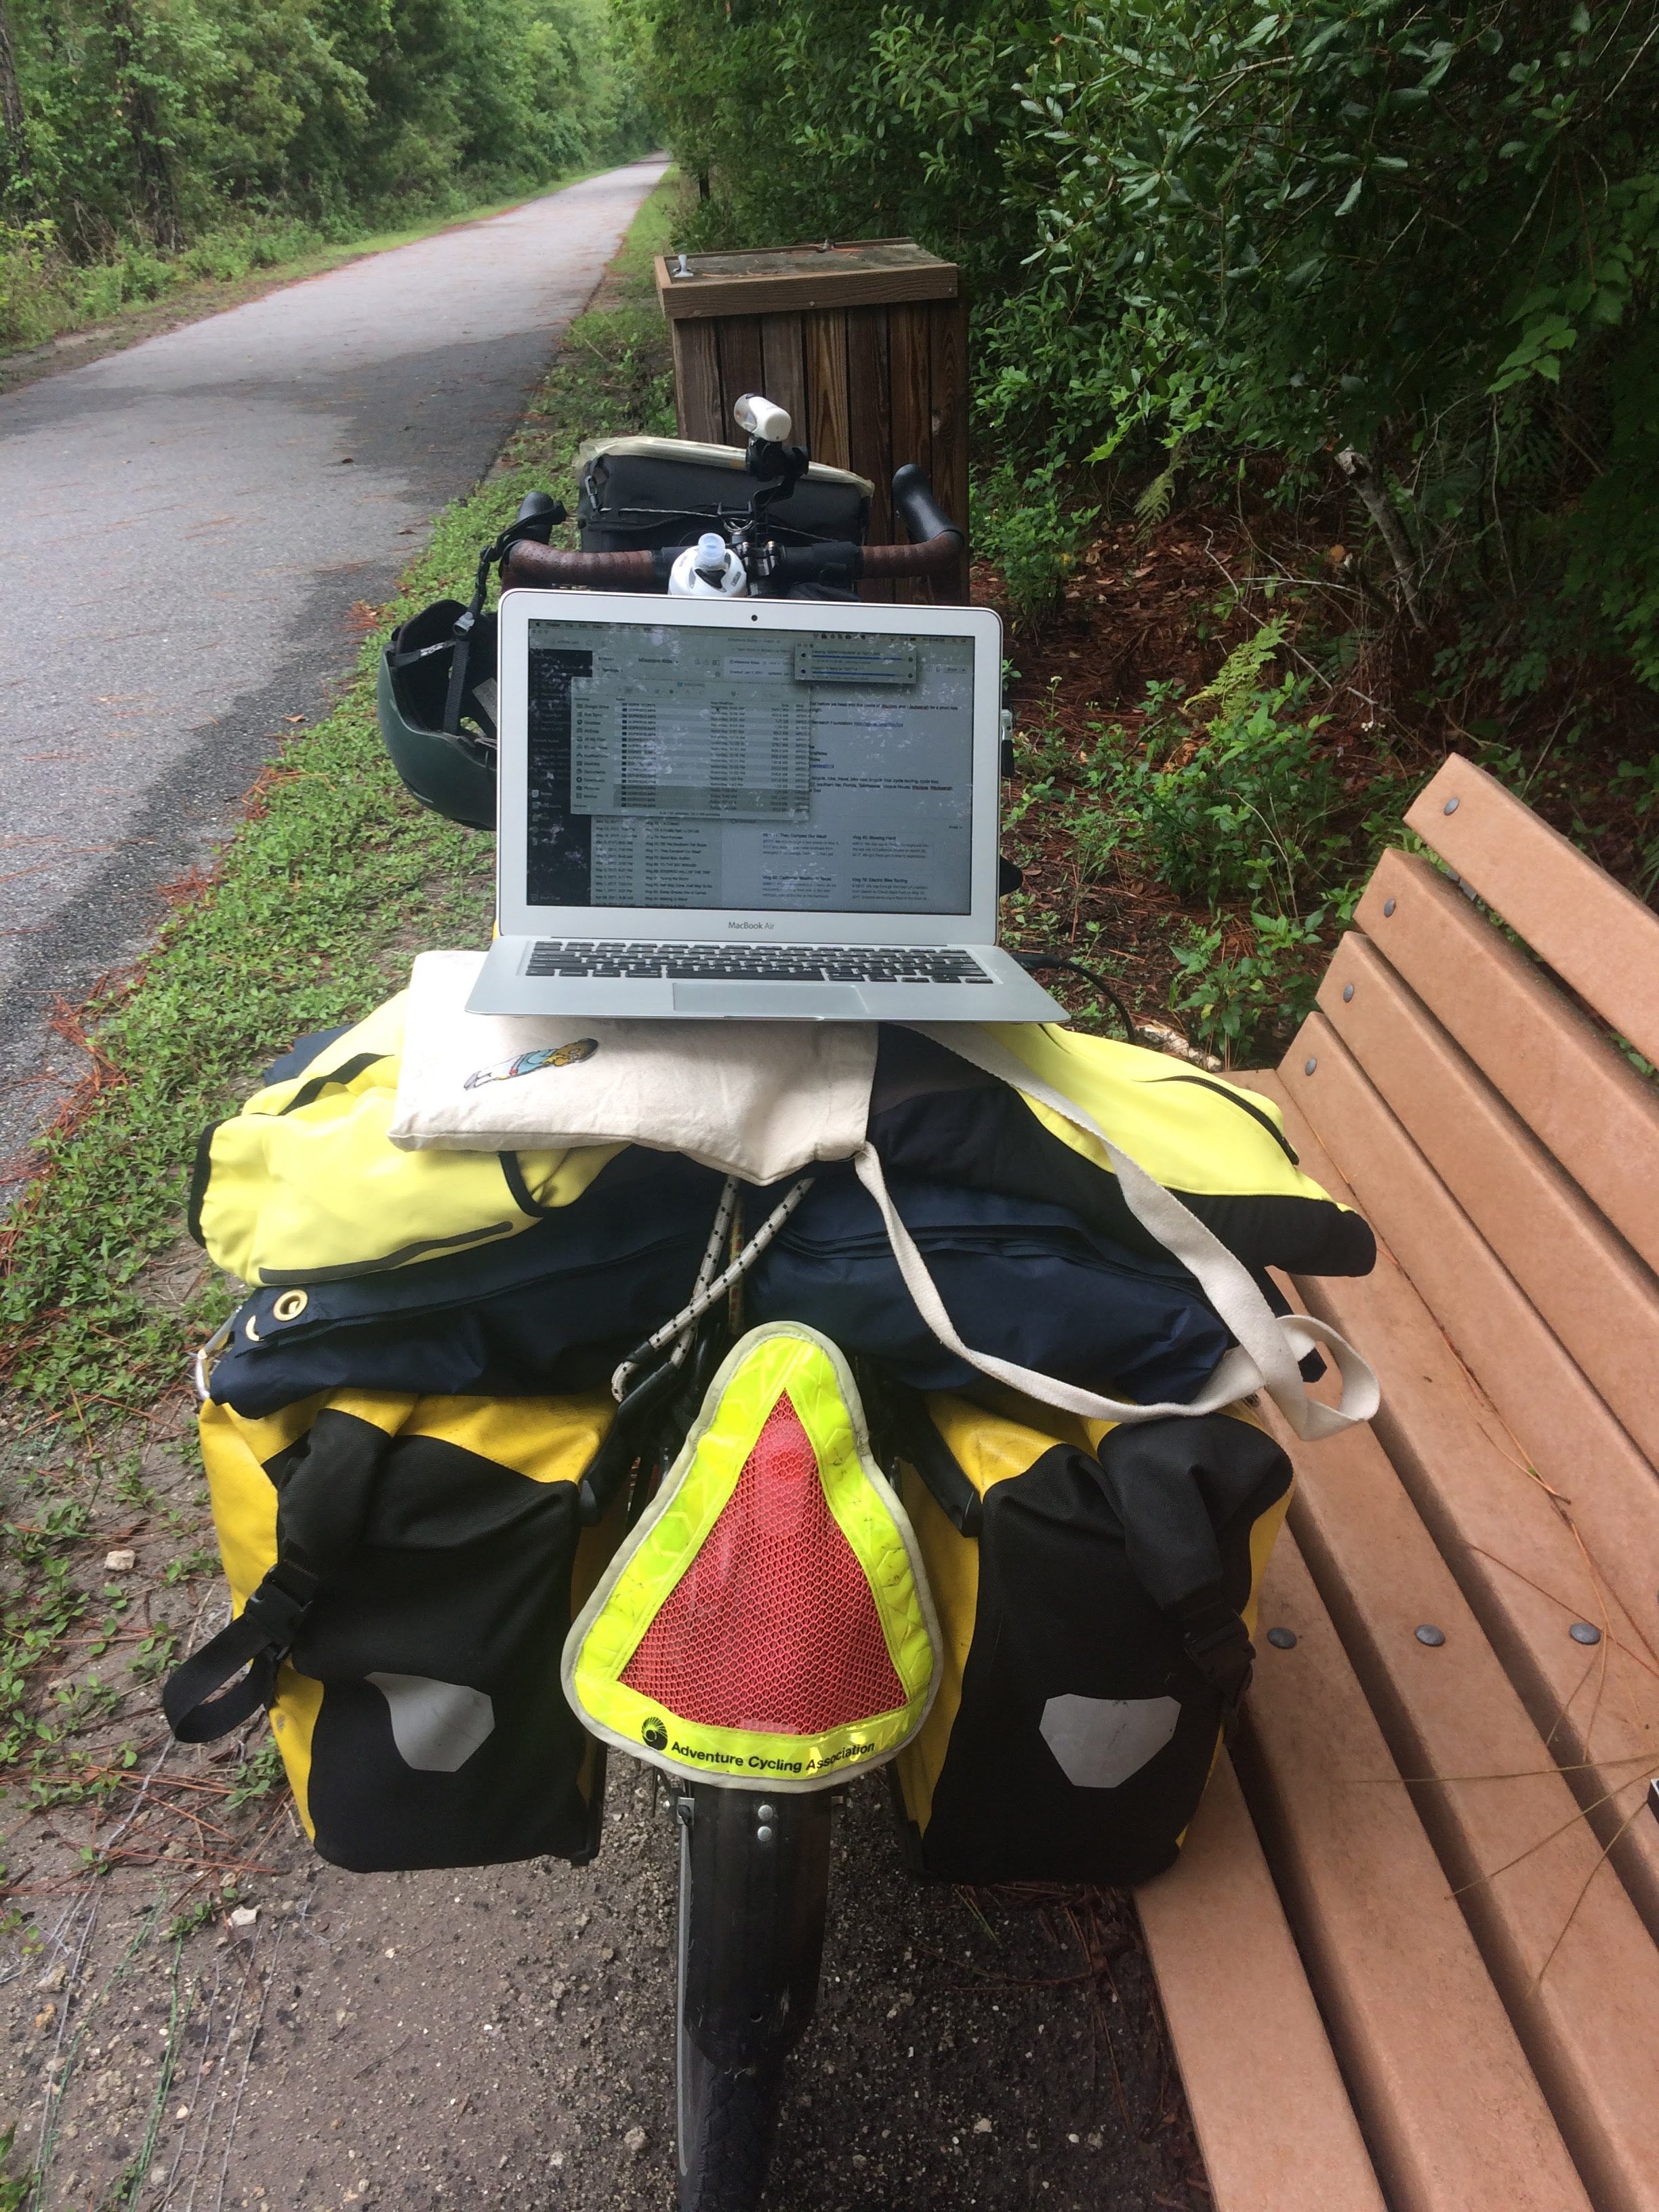
- 2016 MacBook Air – This could be a bit of a burden to haul around, but I found that editing on a computer like the MacBook Air is much better than on an iPad or iPhone. Since I’m not shooting in 4K, the power on this machine is sufficient. In addition to that, it comes with a built-in SD card reader which is very convenient to offload files from SD cards to external hard drives.

Sang’s Equipment
Sang brought along his own camera equipment so that we can share the duty of capturing footage on our journey. We would all agree that videos are best if you show a diversity of characters and perspectives in it.
- Panasonic Lumix GH3 – Initially, Sang thought he would be using this camera more on the trip, but it ended up to take up valuable space in his handlebar bag. He would gladly leave this at home on the next bike tour.
- DJI Osmo Gimbal – This was a new acquisition that Sang had purchased a few months before our trip. The videos from this camera are amazingly smooth, and the fact that it is a gimbal, you don’t notice any jarring or shaking in the videos. The clips are much better in cinematic quality. The downside of this camera is that it is sensitive to weather. When it started raining, Sang had to put this away in his pannier to avoid the possibility of damaging it. It would also freeze up or corrupt some of our memory cards. The freezing up was due to extreme heat and the corrupting of the cards only happened twice in the 3 months we’ve used it. A quick reformat fixed the issue.
- Apple iPhone 7 – In the event where the Osmo was out of commission and the weather condition seemed dire, Sang resorted to using his iPhone 7. This was rarely used unless he needed to capture a dust storm in California or a thunderstorm in Louisiana.
Accessories
When we talk about video production, we only talk about the primary equipment and forget that each piece of equipment requires accessories for it to run.
Each camera required at least 2 or more spare batteries, so that we always had enough power to record an event.
We also carried extra SD and micro SD cards in the event of running out of recording space for our videos. I would recommend always having an extra memory card at all times.
Don’t forget those mounts and cases for each camera. Some come with proprietary solutions while others live in our handlebar bags waiting for the right moment to be taken out and used.
I had to decide what type of equipment would be needed each day and switched between the helmet and chest mount of the GoPro on a daily basis.
Storage
My Apple MacBook Air only comes with a 250GB SSD drive. This was definitely not going to be enough to store all my applications and media files that we anticipated capturing, so we brought along a few hard drives as well.
- Samsung T3 SSD 500GB – This was my primary work drive which was used to do video editing and rendering of video files to be uploaded to YouTube every day. You can’t match the speed of these drives, and I would highly recommend having one for both storage and video rendering needs.
- Western Digital My Passport 500GB Hard Drive – Sang brought this drive along to help with archiving older videos as the Samsung SSD drive filled up. We ran into the maximum storage limit when we reached the halfway point of our trip in Austin, Texas.
- G-Technology GDrive 1TB Hard Drive – That was when I went to a local Best Buy and picked up a 1TB hard drive. This may not be as fast as the Samsung SSD, but it is a fast spinning hard drive used by many video professionals out there.
Post Production
Once we had all our media files loaded on the hard drive, we used the MacBook Air to begin the editing process.
iMovie
 Apple included a very simple, but powerful video editing app called iMovie with all their computer systems. Many people think you need something more substantial like Final Cut Pro or Adobe Premiere to produce cinema quality videos, but I’ve been able to take advantage of iMovie to create pretty much all my videos on this channel.
Sang, on the other hand, uses Final Cut Pro for all his edits at home.
It’s all about the music
The most important piece of video production, in my humble opinion, is the music. The music makes your movie. It sets the mood and helps drive the action. It is also one of the most underrated parts of video production.
I spend the most time picking out a song for a video. We use to subscribe to a music service but have since opted for royalty free music from Soundcloud or the Audio Library – No Copyright Music channel. Many artists provide music under the Creative Commons license. The only caveat to using their music is you need to give credit to the artist.
I also support many artists using Patreon where I contribute a dollar or two for their efforts.
The Order
If you watched enough of my Southern Tier videos, you’ll notice that there’s a pattern.
- Me telling you when and where we are.
- I would go on to mention what the plan is for the day.
- Then we get the bike footage.
- I would break the action shots with some more information about the day.
- Throw in a few time lapses if I remember to film them.
- I finally conclude it with a summary of the day.
- Then, add a bumper page to tell my audience how far I rode for the day, mileage, and destination location.
Having a routine helps with capturing on a daily basis so that I know what I should be looking for. I don’t have to figure out how the flow of the video would be each time.
Of course, this can be boring and redundant if I do this over and over. So I vary it from time to time to make things interesting. For example, for Vlog 58, I did a 10-mile play-by-play video for the entire 90+ mile day. I received a lot of positive feedback for that video because it was much more interesting to watch.
Be sure to experiment with your own formula and see what you want. It’s a fine line between being creative and getting things done as quickly as possible on the road.
Final Thoughts
Getting videos filmed by bike may sound a bit daunting at first, but with a little bit of preparation and practice, I don’t see any reason for someone not to be able to tell their story.
Even though we have a surge of bike touring videos on the Internet these days, there is nobody like you. You have your own unique perspective and unique reaction to the things you experience. That is why it is important to capture these moments and share them. Besides, it’ll be something you’re glad to have done when you are progressing along the years down the road.
I get a bit of nostalgia when I recall one of my adventure bike videos from the past. I am always so glad that I took the time to capture the moment and feeling regretful for some moments we didn’t capture. Even the bad ones…
Please share this post if you find it helpful. Also, if you have a video channel, let me know in the comments below so I can check it out. I’m always looking for some unique perspective and am eager to learn about other people’s stories.
Equipment List (Affiliate Links)
- Canon PowerShot G7X Mark II
- GoPro Hero 4 Silver
- Zoom H1 Audio Recorder
- Panasonic Lumix GH3
- DJI Osmo Gimbal
- Apple iPhone 7
- Apple MacBook Air
- NB-13L battery (for the G7X)
- Transcend 32GB SDHC Class 10 UHS-1 Flash Memory Card
- GoPro Chesty (chest mount)
- GoPro 3-Way Grip, Arm, Tripod
- Wasabi Power Batteries & Dual Charger (GoPro Hero 4)
- DJI Osmo Bike Mount
- Joby GripTight GorillaPod Stand Small
- Samsung T3 Portable SSD
- Western Digital My Passport
- G-Technology G-Drive
Sorry, the comment form is closed at this time.