
19 May 5 Ways to Keep Your Electronics Charged on the Road


I love my electronics. They make my life easier and enjoyable. From my iPhone to my cameras, I need electricity to power these devices constantly. I am sure that others out there travel with just as many electronic devices as I do and struggle to keep their devices fully charged. Here are 5 ways of keeping your power-hungry gadgets charged up for you when you need it.
1. Battery Packs
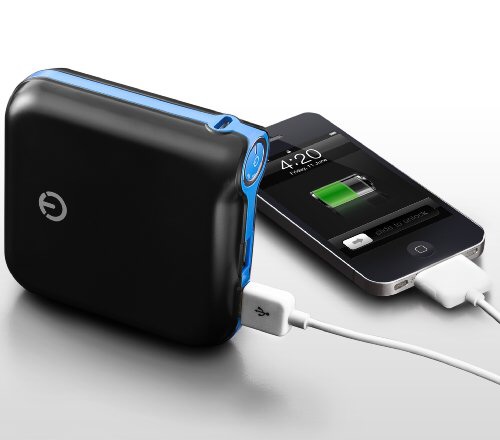
You can buy separate battery packs that allows you to charge independently from your devices. You can then use the USB port(s) to charge your devices while you’re on the road. The beauty of this solution is that you don’t have to plug-in multiple devices for charging and can just use one battery pack to charge your multiple devices. If you get one with high enough milliamps, it can recharge your devices multiple times. Typically with higher milliamps, the pack will weigh more. If you haven’t purchased one, I recommend getting one to carry with you on your tour. I actually have an older model the New Trent iCarrier. This one actually gives you more USB ports so you can charge 2 devices at once and you can recharge using a USB cable rather than a dedicated wall charger.
Pros:
- Charge multiple devices using USB cables
- Worry about charging 1 device rather than multiple
- Very convenient
Cons:
- One more thing to carry
- Additional weight
Costs: $40-$70
2. Solar Panels
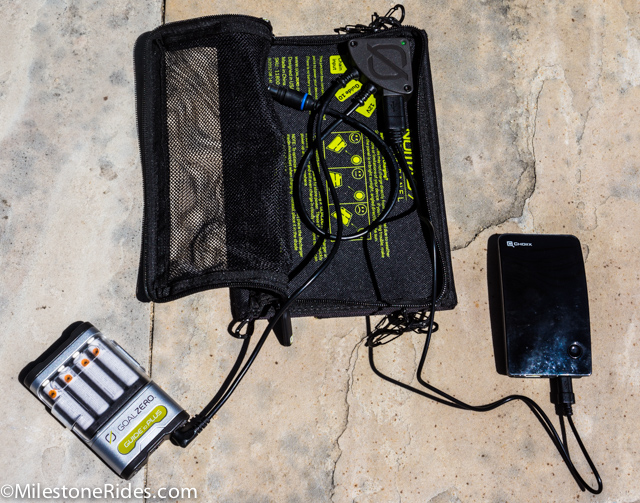
You can always purchase your own personal solar panel to recharge your devices. I have had great success with my Goal Zero in the past but if you read my review, you’ll notice that the performance isn’t as great in conditions that are not optimal (sunny). I think if you’re on a long trip say around the world, I would bring one just in case. These panels will charge separate battery packs and can provide power to your devices for 1 or 2 charges at a time before you have to recharge it using the solar panel. The battery packs are also rechargeable using wall outlets as well so it’s versatile. If you want further information about the Goal Zero solar charger kit, check out my product review here.
Pros:
- Free untethered charging
- Passive charging while you’re on the road or in camp
- If you absolutely need power, this will at least get you on your way
- You can daisy chain with other similar solar panels for more charging capabilities.
Cons:
- Not as efficient if there isn’t any good amount of sun
- Does not work very well with directly plugged smart phones
Costs: $110-$300

3. Dynamo Hub
Another popular solution to charge your electronics is using a dynamo hub. These are very popular in many European countries where they ride their bikes frequently to work and back and would need a good solution for their bike lights. The way this work is that there is a specialized hub normally built for your front wheel which will generate electricity while the wheel spins. There are several options to choose from here. You can then connect from the hub into a device like the Supernova The Plug, which is a USB plug for you to charge your devices from your bicycle’s stem. It’s a very elegant solution but you have to realize that you need to maintain a particular speed in order for it to work properly. In addition, if you don’t have a dynamo hub, you’re going to need to get that done along with The Plug installed. All this can run up the cost real quick.
Pros:
- Very elegant solution
- Get power from what you’re already doing
- Hook to your lighting system and you will never need batteries
Cons:
- Need different hardware to work
- Expensive to implement
- Need to maintain a speed for it to charge correctly
Costs: $300 – $500 (new hub, wheel build, USB charging port – The Plug, and labor)

Photo Credit: spike55151 via Compfight cc
4. Vending Machines
Besides going to restaurants, coffee shop, or laundromats to plug your devices in while you wait for your food or laundry, you can also find outlets in places like behind vending machines. Places like the supermarkets, you will find water machines or even those quarter (at least they used to cost a quarter) kiddie rides plugged into something. Take a break and plug into something like that for your recharging need. Just be cautious about doing this as people who owns or run the machine at the establishment might not appreciate the fact that you’ve unplugged their equipment. In these instances, I would bring an extension cord so that you can plug-in your devices and keep their equipment plugged in. All this assumes that you will be traveling highly populated areas.
Pros:
- Free electricity
- Allows downtime for you to go explore while you electronics are charging
Cons:
- People don’t like you tampering with their equipment
- Only available at populated areas
- You’re stuck at the location while your devices are charging
Costs: Free
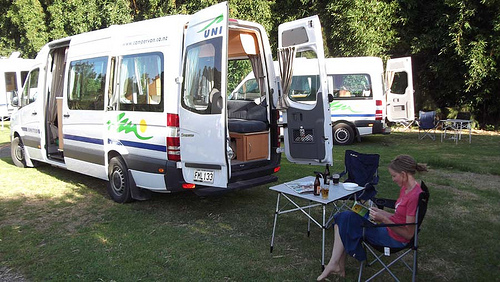
Photo Credit: thedailyenglishshow via Compfight cc
5. RV Travelers
This trick I picked up from my pal Portlan who was bike touring for the first time last summer. Something really simple that was obvious when he told me how he got his devices charged. When he gets into camp, he would talk to other people there who are running generators with their RV setup. He was able to get people to allow him to leave his electronics with them for a few hours and then come back to retrieve it. I would add that offering something in exchange for their resource like a few bucks or a drink can sweeten the deal. Your mileage may vary!
Pros:
- Allows you to interact with other people
- Readily available at campsites with RVs
- Can be free
Cons:
- Only available at campsites that allows RVs
- Relying on hospitality of people
- Device may get stolen as it is left there unattended
Costs: Free or $1 – $5 per incident (cost of beer)
Final Thoughts
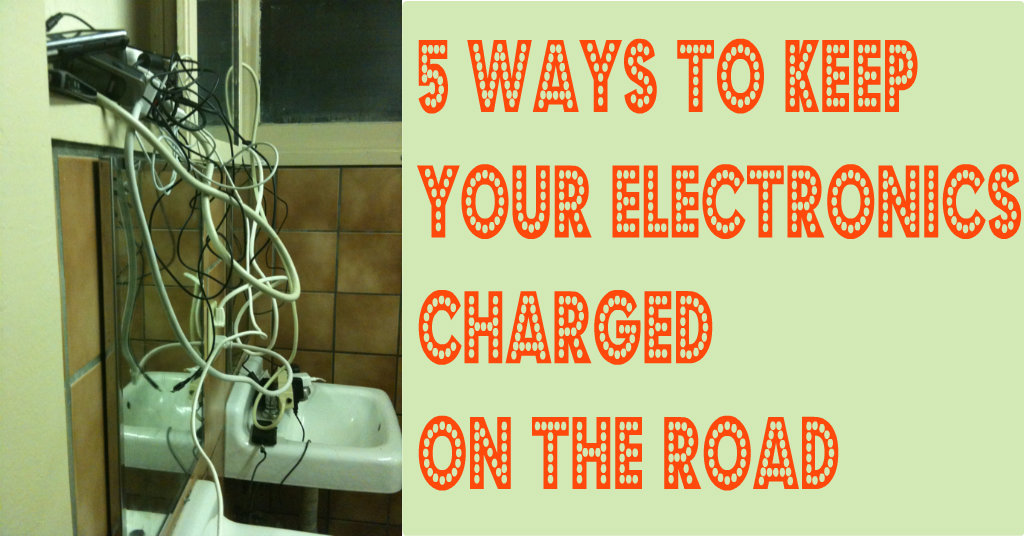
As you can see, getting electricity on the road isn’t so difficult. If you’re willing to put in some money and prepare, you should be able to get by with enough electricity for the entire trip. On longer trips, you’ll have rest days in hostels or hotels where you can certainly recharge your devices. Don’t forget, there are also restrooms in campsites that have outlets for you to use but you’ll have to make sure your device don’t go missing while you’re waiting to recharge it.
Another thing to think about is if you really need that much devices on your bicycle tour. I mean you’re out on the road to experience your environment. Why distract yourself from this opportunity in a life-time to see the world? Consolidating devices as well as cables to recharge your devices will help with dealing in all the organization that comes with carrying your electronic devices with you.
Do you have other tips or recommendations to share to acquire electricity on the road? Please post them below in the comments below.
Disclosure of Material Connection: Some of the links in the post above are “affiliate links.” This means if you click on the link and purchase the item, I will receive an affiliate commission. Regardless, I only recommend products or services I use personally and believe will add value to my readers. I am disclosing this in accordance with the Federal Trade Commission’s 16 CFR, Part 255: “Guides Concerning the Use of Endorsements and Testimonials in Advertising.
Sorry, the comment form is closed at this time.